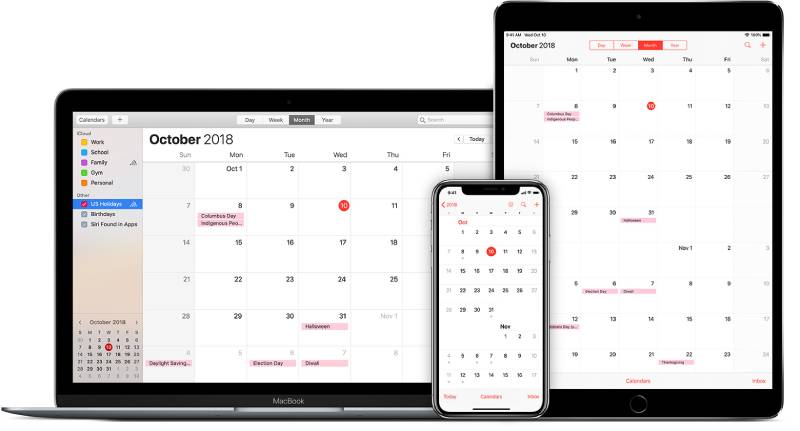
If you own an iPhone or iPad, you’ll probably want to upload all your activities into Apple’s calendar app: iCloud Calendar. With iCloud Calendar, you can synchronize your schedule across all your devices so that you can always be prepared for what’s coming. In other words, you won’t forget what you’ve planned for a particular date.
One of the advantages of using this app is that you can share a calendar with your friends and family. Also, a shared calendar between colleagues can be a great advantage in the workspace. All in all, features like this allow you to plan events more effectively. This includes events like parties, conferences, and gatherings. Also, a family calendar can be a great help when planning a group vacation.
In this article, you’ll learn all the secrets of how to share an iCloud Calendar across the Apple ecosystem. Whether it is on your Mac, iPhone, or iPad, you’ll have access to all the information you need. Thanks to iCloud Calendars you can share a private or a public calendar, add or remove participants, assign roles, and do other similar tasks.
Learn how to take advantage of a shared calendar and make your processes easier.
What You’ll Need
With this app, calendar sharing must be between people that have an iCloud Calendar account.
Through an Apple account, you will be able to access the information and edit it as long as you have the proper permits. If you share a calendar publicly, the recipients won’t need an iCloud account.
Establishing Your Settings
Before sharing, make sure everything works the way you want. For this, you need to adjust the settings on the calendar app. Simply get your iPhone or iPad and tap on “calendar.” You’ll find the following options:
Synchronization: With this feature, you can choose how far back you will synchronize your calendars. The options are six, three, or two months, or one month. Keep in mind that when you synchronize events, these will take up storage space on the corresponding device.
Default Calendar: Choose your iCloud Calendar or other calendars from your iPhone or iPad. The default calendar is where you will add new entries. To streamline the process of calendar sharing, choose a shared calendar as your default option.
Default alert times: Make sure you never miss any events or appointments. iCloud Calendar allows you to set up default alerts in advance within a given time. For example, this can be anything from five minutes to two days in advance.. There is, of course, an option to set the alarm at the exact starting time. Also, an iCloud user can customize the alarms for any of the events separately.
Set up a fixed time zone: This feature is especially useful for frequent travelers. You can establish a fixed time zone and keep it that way for your iCloud Calendars. No matter where in the world you are, your calendar app will be consistent with the time zone you choose. Whether you have a public calendar or a private one, you’ll avoid potential mix-ups. To enable this feature on your shared calendars, go to the corresponding list and select your preferred time zone.
How to Create iCloud Calendars on Your Device
Before learning how to share an iCloud Calendar, you have to learn how to create one. These are the steps you need to take:
- Tap “Calendars” on the upper part of your screen.
- Tap “Add calendar”.
- Enter the name that you chose for your calendar.
Shifting Your iCloud Calendars to “Public”
Every iCloud user can make a calendar public by creating a shareable link.
Thus, the recipients can access the public calendar through any device that supports said app. This goes beyond the Apple ecosystem, including any computer that runs on Microsoft or that has Microsoft Outlook installed.
A shared public calendar is available for everyone, regardless if they have an iCloud account. In this mode, invitees can access an iCloud Calendar only as viewers. In other words, they can’t make any changes.
To share a calendar publicly, follow these steps:
- Open the app and tap “Calendars” at the bottom of your screen.
- Tap on the “Info” calendar icon. You’ll find the icon next to the calendar that you want to make public.
- Turn on the “Public Calendar” switch to get a shareable link.
- Tap “Share link” to share this URL with whomever you want. Any person with access to this link will be able to view your calendar from the calendar app itself or a browser.
Want something better than iCloud Calendar?
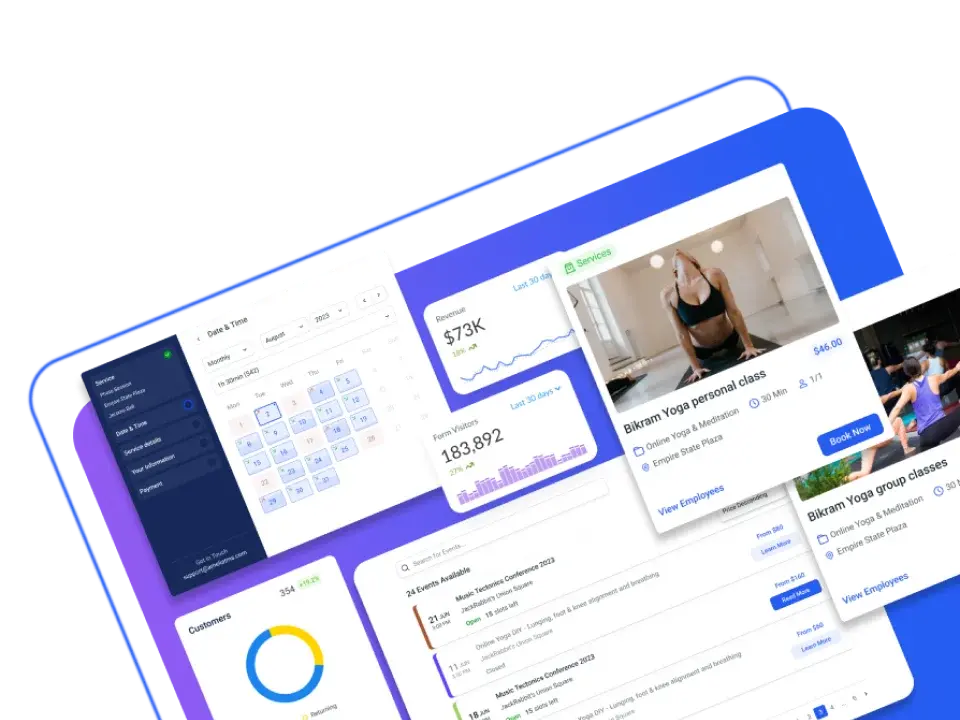
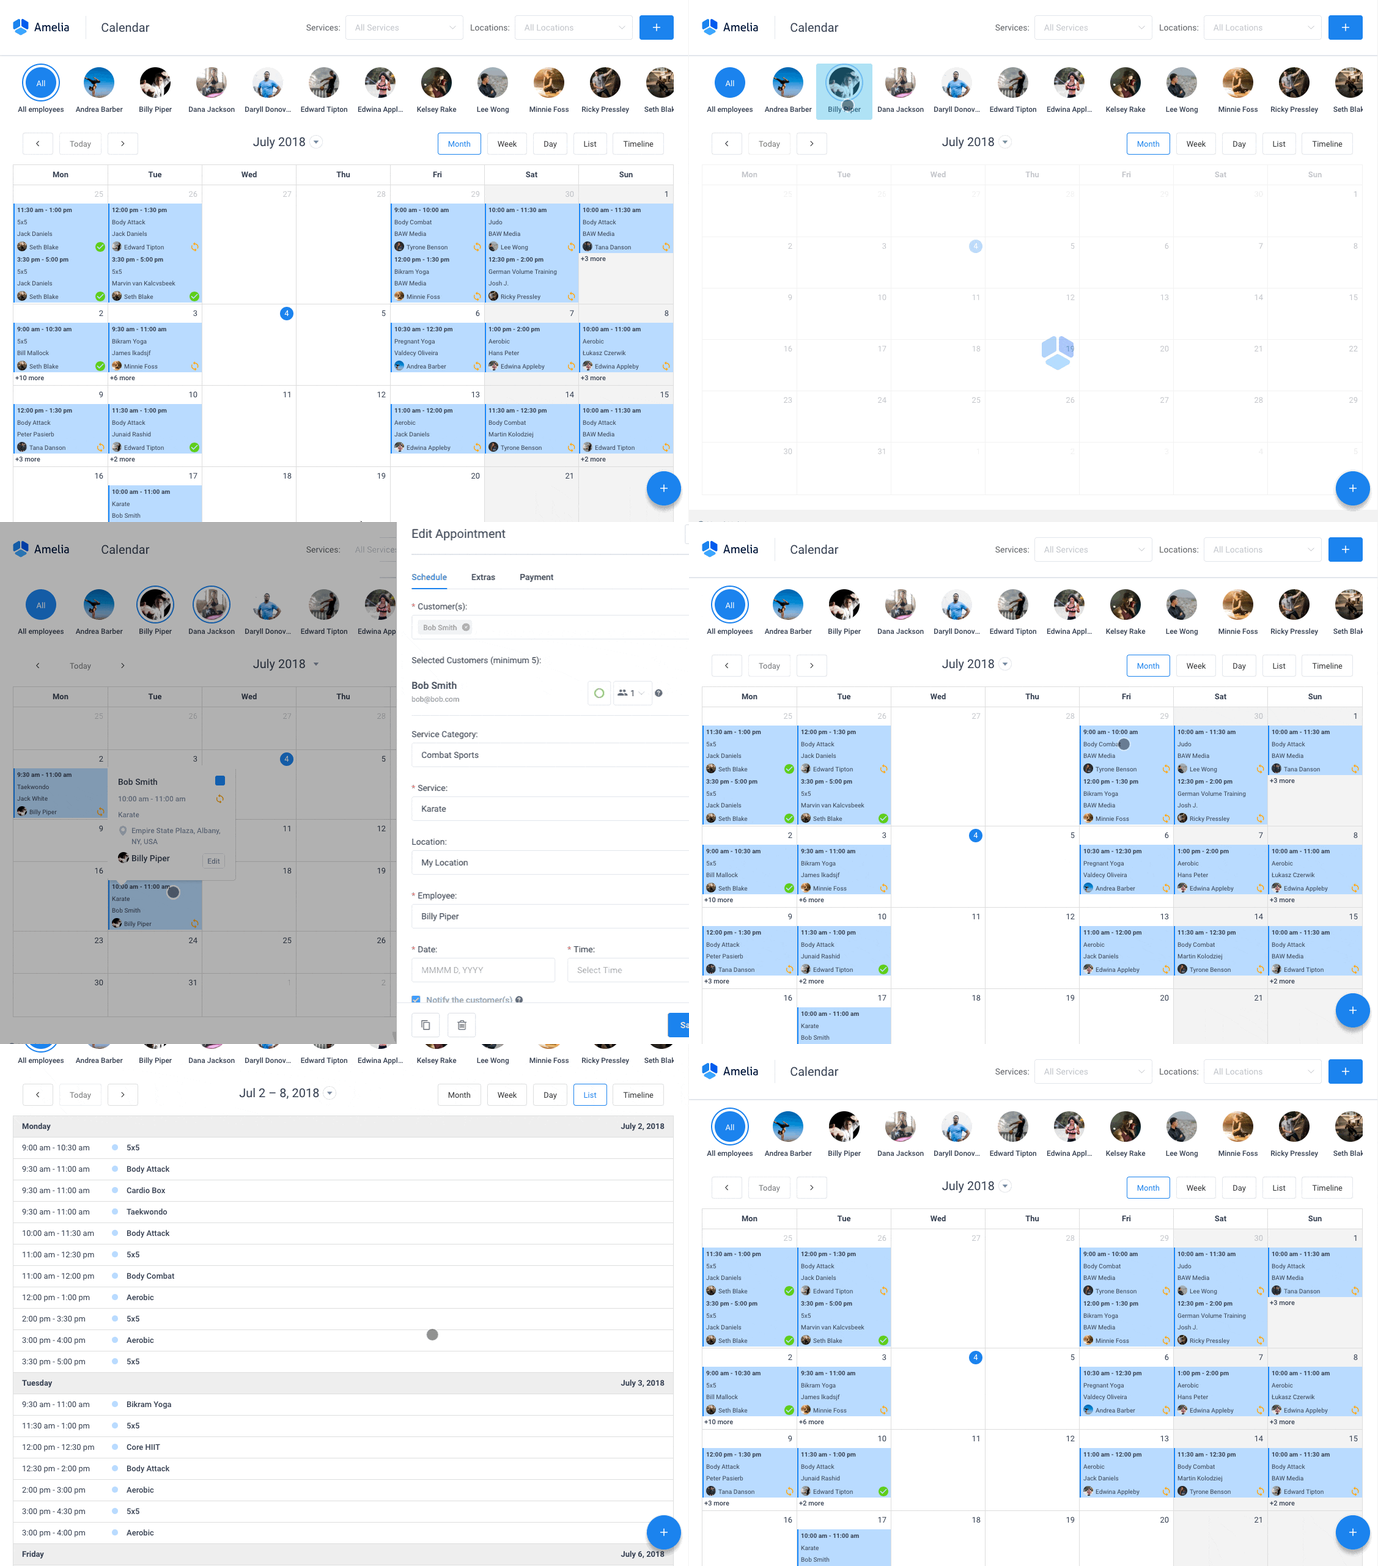
Switching from iCloud Calendar to Amelia is a total game-changer for businesses wanting to streamline their schedule. It’s high time you made the switch too.
First off, Amelia is super user-friendly. Once you start using it, you won’t believe how easy it is to get the hang of things. No more struggling with complex features, that’s a promise.
Now, you might be thinking, “What’s in it for me?”. Well, here’s what Amelia brings to the table:
- Effortless appointment scheduling: With Amelia, you can easily manage your appointments, syncing them to your WordPress site. You’re always in control, and your clients will love it too!
- Top-notch customization: Amelia offers a ton of flexibility. Change colors, fonts, and layouts to match your brand – making it truly yours.
- Time zone magic: It automatically adjusts appointment times based on your clients’ locations. How cool is that?
But wait, there’s more! Although the full version of Amelia isn’t free like iCloud Calendar, it’s totally worth it. The value you get from its features, the possibilities you have for managing and growing your business, as well as ease of use far outweigh the cost.
Moreover, Amelia has top-notch encryption and follows industry best practices to keep your data safe and sound.
Want to know more? Check out Amelia’s awesome features to see what you are missing.
How to Share an iCloud Calendar From Your Apple Device
You can also share your calendars with other iCloud users. Simply manage your shared calendars from your Apple device. Such a feature becomes useful when planning a trip with others or when working on a group project. Share your iCloud calendars by following these steps:
- Open the Calendar app on your iPhone or iPad.
- Find the calendar on the corresponding tab.
- Access the settings through the icon next to the calendar’s name.
- Find the “Add person” field and tap on it. You’ll find it in the “Shared with” section.
- Choose how you want to share your calendar. This can be via an email, an iMessage, or a link.
- If you send it on iMessage or via email, enter the invitee’s email address and tap “Add person.” This will generate an invitation for them.
- If you don’t want to use the iCloud email address, you can generate a link. Simply copy it and send it through your preferred method.
- Finally, choose access privileges like “View only” or “View and edit.” Grant the type of access that you want according to the permissions you want to give.
This is all there is to sharing an iCloud Calendar. Once the other user gets the link, they can access the public or private calendar through their devices.
Grant Editing Permissions
- Type the name of the person you’ve shared with and you’ll see different options.
- When granting access, the person can automatically edit. If you want to avoid this, simply switch off the function by tapping “allow editing.” When it’s off, the iCloud user will only be able to view the calendar.
- When you finish the process, simply go back by tapping the “Back” button.
Under “Shared with”, you can adjust the setting for each person by tapping their names. Here you can change the options from “View only,” or “View and edit.” Tap “Stop sharing” if you no longer wish to share your calendar with a given person.
Creating Events on iCloud
Take your iPad or iPhone and follow this procedure:
- Open the app and tap the plus icon. You’ll find it in the upper right corner of your screen.
- Type a title and tap the “location” button.
- After choosing a place, set up the starting and ending dates and times.
Editing Your iCloud Events
You can edit the events that you created or that you have access to by following this procedure:
- Open the app.
- Find the event and tap on it to edit.
- Find the “Edit” tab.
- Change the information that you want, which can be the title, location, time, date, or invitees.
- To save the changes, simply tap on “Done.”
How to Share an iCloud Event on Your Apple Device
To share your events with other users, follow these guidelines:
- Start the Calendar app. You’ll find it on your home screen.
- You can create a new event or find an existing one.
- Go to the “Edit” tab in the upper right-hand corner.
- Tap on “Invitees.”
- Enter the invitee’s email address to send an invitation email.
- Do the same for every person that you want to add.
- To save your changes tap “Done.”
How to Access Events That You’ve Already Declined
Sometimes you may decline an invitation and then change your mind. If this happens, you can still access the shared calendar in the following way:
- Go to the Calendar icon and open the app.
- Go to the bottom of your screen and tap “Calendars.”
- Find the invitations section and click on “Declined events.”
- All your declined invitations will be there. Simply click on the event to accept the access.
Accepting Invitation Emails From Your iOS Devices
If a person wants to invite people to a shared calendar, they send a notification. To accept an invitation follow this process:
- Start the app.
- Go to the “inbox” section.
- Choose what you want to do with the invitation.
- If you accept it, you’ll have immediate access.
- You can click on “maybe” and accept the invitation later.
- There’s always the option to decline an invitation to a public or private calendar.
Once you decline an invitation, you will stop receiving notifications and you can only see it from the app. If you confirm attendance or tap on “maybe,” you’ll still get notified.
By enabling the corresponding option you can see all the events that you’ve declined.
Finding Declined Events
- Open the app from your home screen.
- Go to the calendar icon.
- Swipe up and scroll all the way down.
- Enable the option for showing declined events.
- Click on “done” when you’ve finished.
Manage a Family Calendar
iCloud lets you share calendars with a specific group of people, like your family members.
You can choose up to six people for your family-shared calendars and this includes purchases on the Apple store and other iOS services. Keep in mind that you can only share this through an iPhone with a limit of 5 invitees.
Family Shared Public Calendar Settings
Before you share a calendar with your family, make sure to establish the right settings.
From the “settings” section, go to “iCloud,” “family,” to finally reach the “add family member” tab. Then, enter their name or email address and follow the system’s instructions.
Now it’s time to share a calendar or any other Apple product. From the iCloud go to “set up family sharing.” There you can choose to share whatever feature you prefer. This includes storage, Apple Music, and your family calendar.
Family Sharing Features
- From your iOS device go to the calendar icon and open the app.
- Click on the “plus” icon to create a new event on your family calendar. You can also place an existing event into your family shared calendar.
- Tap on the chosen calendar.
- Tap on the calendar labeled “family.”
- Enter the event details and save the changes.
Once you do this, all your family members will have access to the calendars. They will receive notifications about all the events and the corresponding updates.
All in all, this is a great way to share a calendar with all the members of your family at once. Like all Apple products, this tool definitely will make your life easier. If you’re wondering how to share an iCloud calendar with all your family, check out this feature.
Managing Shared Events
You can manage your events from your iCloud. Simply follow this process:
- Open the calendar app.
- Go to “calendars” and you will see a list of all the calendars that other users shared with you.
- Choose the calendar to manage its events.
- Now, you’ll see all the events listed on the calendar.
- In the same way that you would with your own entries, edit, delete, or view the calendars.
- Add new entries by tapping the “+” button.
- All the changes will be updated across all users with access to that calendar.
If you no longer wish to receive event invitations from a given calendar, simply establish this on the settings. Go to the “i” calendar icon, find the calendar, and delete it.
Final Thoughts on How to Share an iCloud Calendar
An iCloud calendar is a great tool for those living a hectic life. Between events, appointments, deadlines, and everyday life, you probably have your hands full. A tool like this can help you avoid no-shows, confusion, and misunderstandings. Moreover, it helps you by keeping everything in one app.
How to share an iCloud Calendar? Simply enter the app and find the right section. The system is intuitive so that you can easily add, remove, or edit events. You can also grant access privileges to each person individually. Among other things, you can use this to collaborate with colleagues or improve your team’s efficiency.
The Apple Support site provides all kinds of answers and help for iCloud calendar users, so make sure to check it out.
Finally, websites like iMore and Macworld are great if you want to dig into Apple’s news, features, and tutorials.
There are other calendar app options like Google Calendar. However, the guidelines in this article work only for iCloud calendars, where you’ll find all the options described here. When using other providers, the layout, features, and possibilities may be different.
If you enjoyed reading this article about how to share an iCloud calendar, you should read these as well:
- Importing iCal Into Google Calendar: How to Do It Properly
- Google Calendar Vs Apple Calendar: Which One to Use
- The Best Google Calendar Alternatives for Effective Time Management


